Pumpkin Spice Sour Cream Glazed Doughnuts because Autumn
/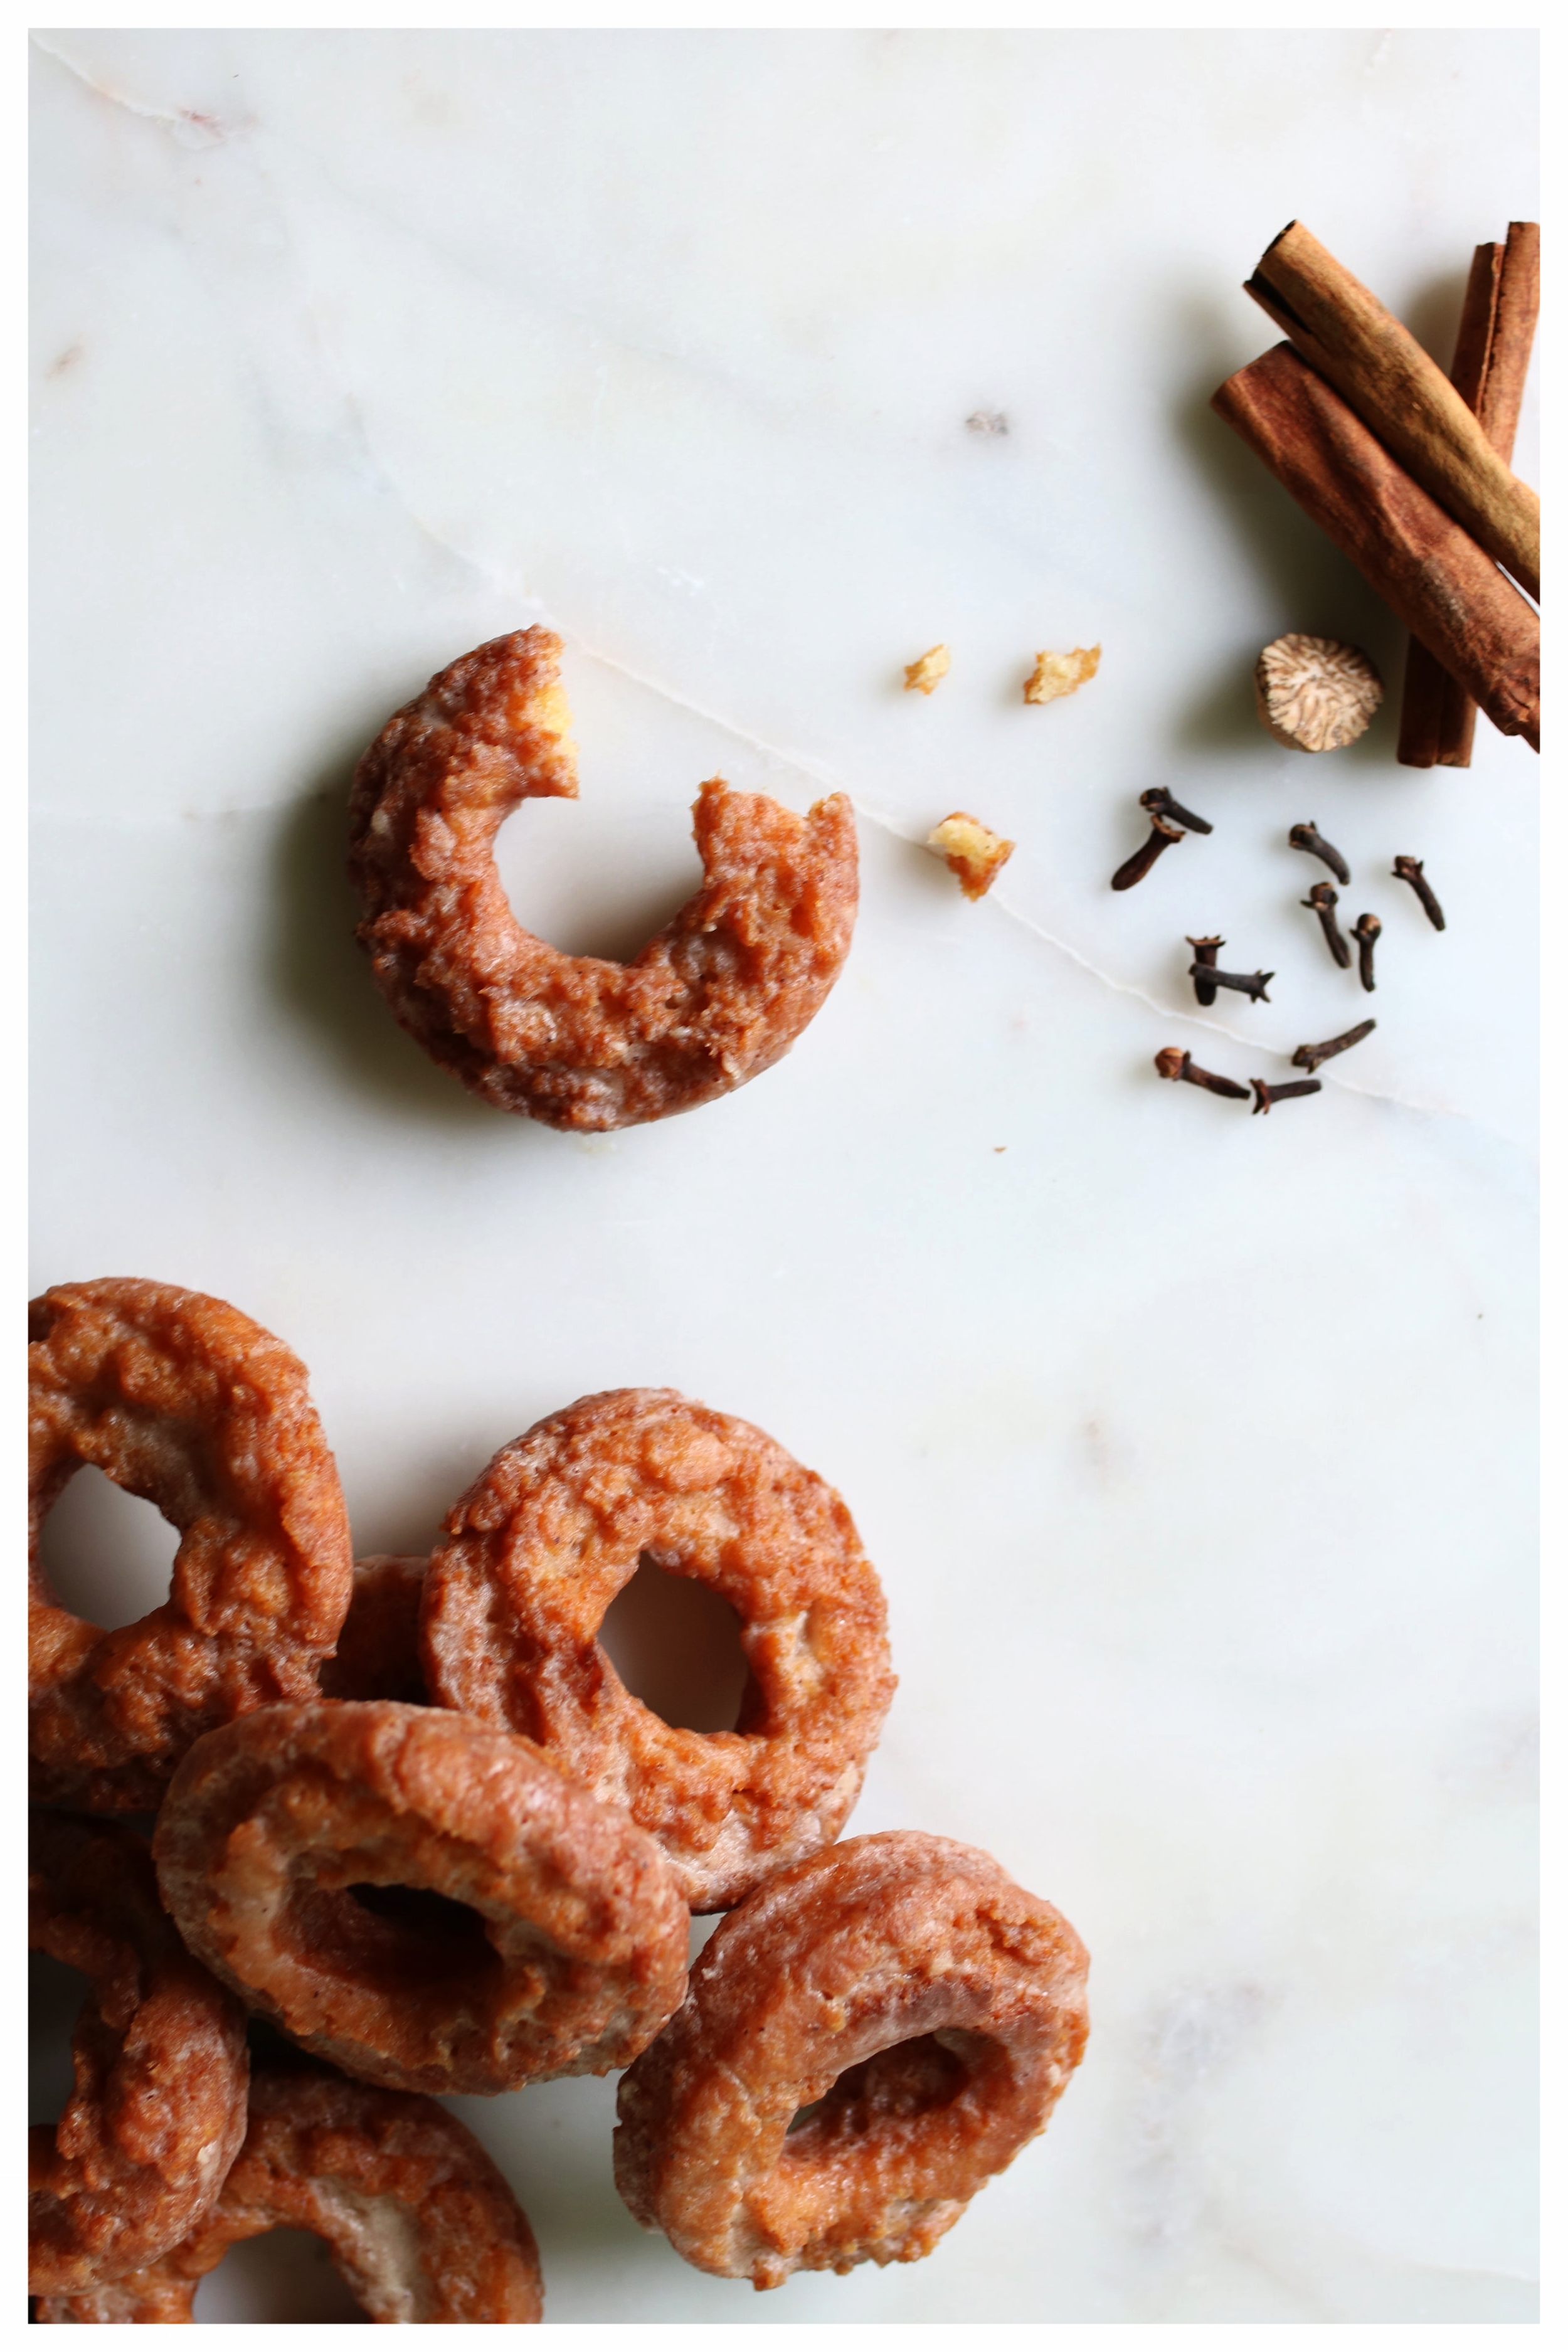
Pumpkin Spice Sour Cream Glazed Doughnuts
The days are starting to get a little shorter and, while we here in Toronto are having some lovely less-than-seasonal warm days, there is no denying that autumn is in the air.
Barrels of apples are popping up at grocery stores everywhere which usually means apple fritters in my house but I have fallen victim to the tantalizing smell of pumpkin spice that just seems to be ubiquitous this time of year.
Rather than make a latte or something of that sort, I decided to combine the spicy loveliness that is cinnamon, nutmeg, ginger, and clove with my all time favourite doughnut: the oh so delicious and impossibly easy to make sour cream glazed.
Just to up the ante as far as flavour and fall-i-ness, a little hit of brown butter and maple syrup take these little babies over the edge.
If you're like me and have very little self control when it comes to fried dough, make sure you have a plan to share these puppies with people asap!
Pumpkin Spice Sour Cream Glazed Doughnuts
Makes 12 doughnuts and 12 doughnut holes
2 ½ cups all-purpose flour
½ cup sugar
1 tablespoon baking powder
½ teaspoon salt
½ + 1/8 teaspoon cinnamon, divided
¼ teaspoon ginger
¼ teaspoon nutmeg
1/8 teaspoon clove
1 cup sour cream
2 tablespoons milk or buttermilk
1 egg
¼ cup + 2 tablespoons unsalted butter, melted, browned, and divided
1 + ½ teaspoon vanilla extract, divided
1 ½ cups icing sugar
1 ½ tablespoons maple syrup
3 – 4 tablespoons warmed milk
In a large bowl, sift together the flour, sugar, baking powder, salt, and spices and make a well in the centre of the dry ingredients. In a separate bowl, whisk together the sour cream, milk/buttermilk, egg, ¼ cup of the browned butter, and 1 teaspoon of the vanilla. Pour this wet mixture into the well and mix just until a soft dough forms. Cover your bowl with plastic wrap and refrigerate the dough for 1 hour.
Meanwhile, prepare your glaze by mixing the icing sugar, remaining 2 tablespoons of browned butter, ½ teaspoon of vanilla, maple syrup, and 3 tablespoons of warmed milk in a small bowl. You want this glaze to be on the thinner side so, if needed, add another tablespoon of warmed milk. Cover the glaze directly with plastic wrap and set aside.
Remove the dough from the fridge and heat about two inches of vegetable oil in a large, deep pot over medium heat until a thermometer registers 350F. On a generously floured work surface, roll out your chilled dough to a ½ inch thickness and, using a 3-inch round cutter, cut out as many rounds as possible. Using a 1-inch round cutter, remove the very centre of each circle, giving you doughnuts and doughnut holes!
Feel free to bring the remaining dough together to reroll and cut out more doughnuts but only do this once as rerolling the dough a third time might make the doughnuts a bit tough.
Before frying, prepare a draining station for your doughnuts by lining a cookie sheet with paper towel and a cooling rack.
Now, it’s time to fry! Gently lower four or five doughnuts into the hot oil and cook, flipping once, until all the doughnuts are golden brown and lovely. Remove the cooked doughnuts to the rack-lined cookie sheet and continue to fry until all of your doughnuts and doughnut holes are done.
When cooled, dunk each doughnut in the glaze and allow them to drain and dry on a rack-lined cookie sheet.
