Classic Strawberry Shortcakes

Classic Strawberry Shortcakes

Classic Strawberry Shortcakes

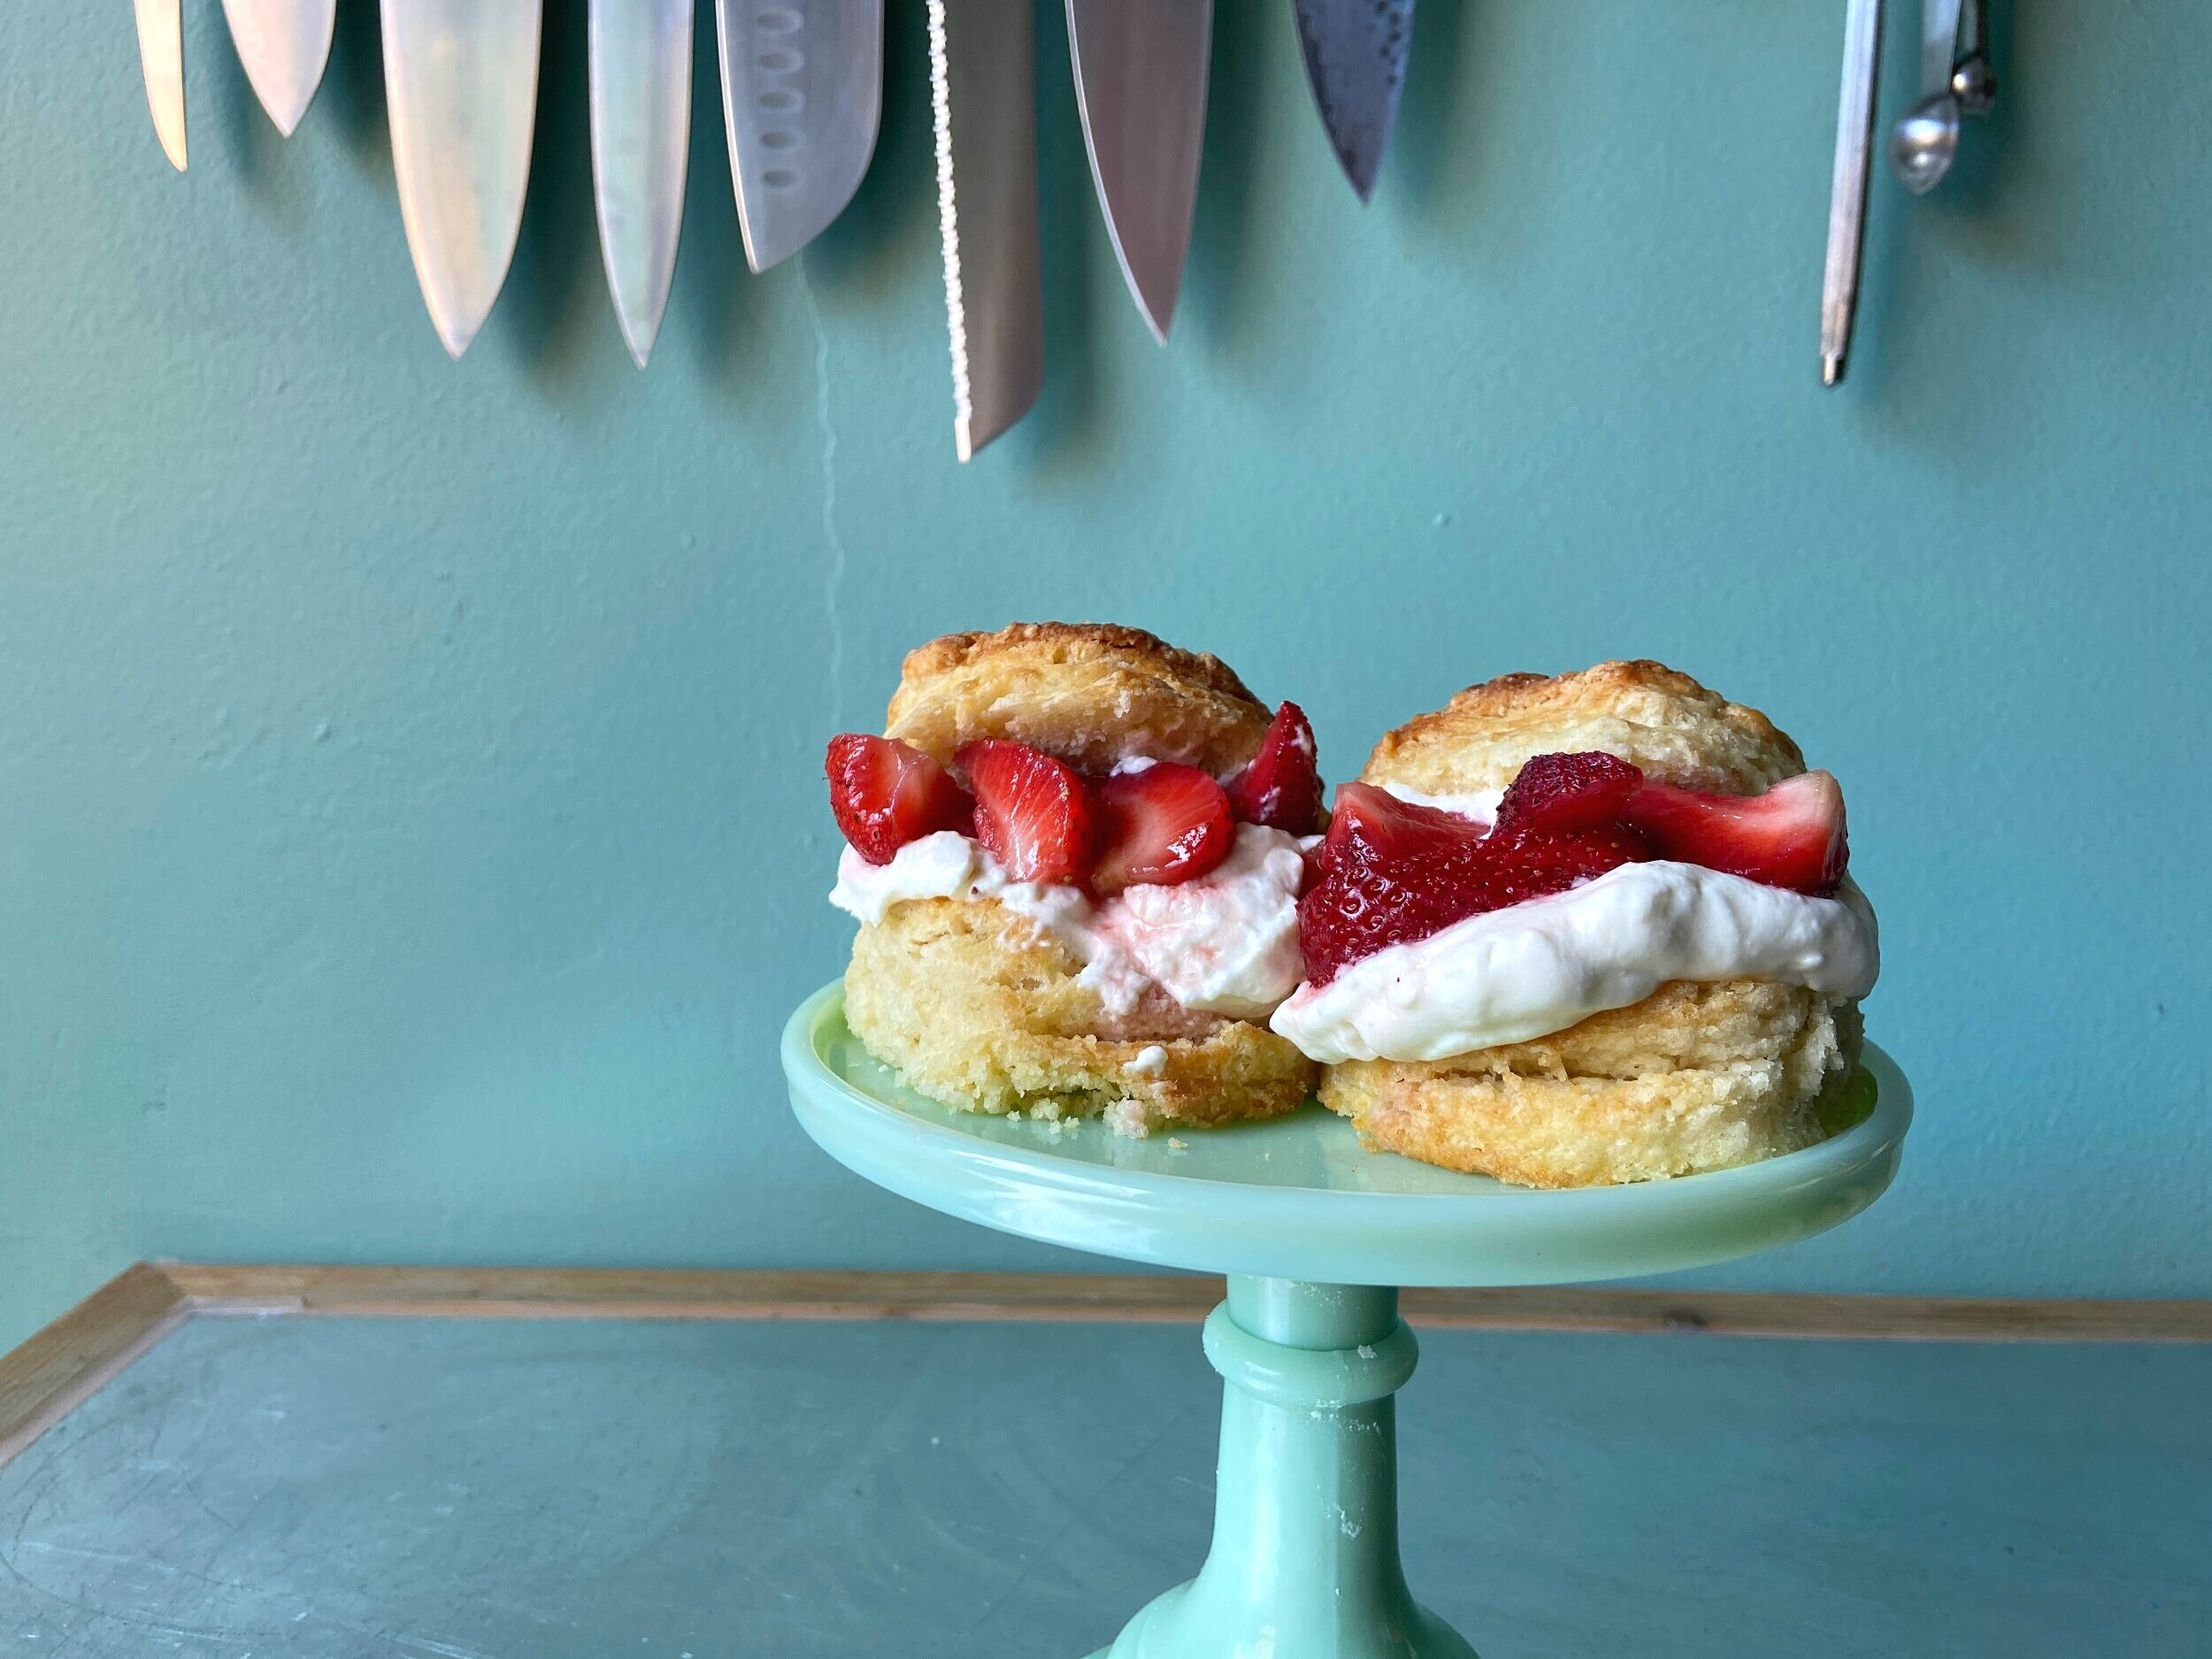
To me, nothing says “summer’s here!” quite like a short & sweet little biscuit filled with light & lofty whipped cream and bright berries!


Classic Strawberry Shortcakes

Serves 5 to 6

1 1/2 cups all-purpose flour*
2 tablespoons sugar
1 tablespoon baking powder
1/2 teaspoon salt
6 tablespoons unsalted butter, cold and cut into pats
2/3–3/4 cup cold buttermilk
1 tablespoons whipping cream (or more buttermilk), for brushing the tops of the biscuits
2 teaspoons turbinado sugar, optional, for sprinkling on top of the biscuits

Preheat your oven to 450ºF and line an 8- or 9-inch round cake pan with parchment paper. Set aside.

In a mixing bowl, whisk together the flour, sugar, baking powder, and salt to combine. Add in the cold butter and snap and rub the butter in with your fingertips just until the mixture is crumbly and the butter pieces are about the size of a pea. Make a well in the centre of the mixture and add in 2/3 cup of the cold buttermilk. Stir the mixture just until a very shaggy dough forms, adding more buttermilk if needed.

Lightly dust a work surface with some more flour. Turn the dough and any crumbly bits out onto the surface and lightly press and fold the mixture together until it holds its shape. Some remaining crumbly bits are ok - you just don’t want to over-work the dough as this will leave you with tough cakes. Press or roll the dough out into a 1-inch thick circle and, using a biscuit cutter or a wine glass, cut out 2- to 2 1/2-inch cakes. Gather and re-roll the dough up to another two times to cut out as many cakes as you can.

Transfer the cakes to the prepared cake pan so that they are all touching and brush the tops with the whipping cream or extra buttermilk. Sprinkle over the turbinado sugar and bake in your preheated oven for 15 to 20 minutes or until golden brown.

Allow the shortcakes to cool before splitting and topping with whipped cream and macerated strawberries (recipe follows).

Cream Cheese Whipped Cream

1/4 cup cream cheese, room temperature
1 cup whipping cream, cold from the fridge
2–3 tablespoons powdered sugar
1/2 teaspoon vanilla extract

In a mixing bowl or the bowl of your stand mixer, beat the cream cheese with a whisk attachment until smooth. Add in about 1/4 cup of the whipping cream and beat just to combine. Add in the remaining whipping cream, powdered sugar to taste, and vanilla and whip just until stiff peaks form, about 1 to 2 minutes.

Use immediately or store in the fridge for up to two days.

Macerated Strawberries

454g strawberries, washed, trimmed, and quartered
2 tablespoons sugar
1/2 teaspoon vanilla extract

Gently stir together the quartered strawberries, sugar, and vanilla and set aside on the counter for 1 to 2 hours to allow the strawberries to become juicy and syrupy. If you’d like to make this in advance, feel free to mix everything up and place in the fridge for up to two days.

*Gluten-free all-purpose blends work really nicely in these shortcakes and, if you’re unable to find AP, cake & pastry will work well too.
Simple Baked Apples

Classic Baked Apples

Classic Baked Apples

One of my favourite speedy apple desserts, these little babies also regularly make an appearance on my breakfast table topped with a few spoonfuls of yogurt.


Classic Baked Apple

Serves 4

 4 Red Prince or firm McIntosh apples
1 cup rolled oats
3–4 tablespoons brown sugar
1 teaspoon ground cinnamon
¼ teaspoon kosher salt
3–4 tablespoons unsalted butter, melted
Vanilla ice cream

Preheat oven to 350ºF, line a square baking dish with aluminum foil, and give it a spritz with non-stick cooking spray.

Using a melon baller or a small spoon, remove the cores of the apples. Set aside.

In to bowl of a food processor, combine half of the oats with the brown sugar, cinnamon, and salt and blitz until well combined and the oats are a floury consistency. Add in the remaining oats and melted butter and pulse once or twice to combine. Nestle the apples into the prepared baking pan and stuff the apples with the oat mixture. Sprinkle any remaining oat mixture on top of and around the apples and bake for 25 to 30 minutes or until the crumble mixture is browned and the apples have softened.

Apple Dijon Pork Tenderloin: My new "holy smokes, company is coming over and I have NO TIME" go-to

Apple Dijon Pork Tenderloin

Apple Dijon Pork Tenderloin

Want to look fancy in a flash?

Well, look no further! This right here is your new secret weapon.

Just a couple of days ago, I busted this little baby out when unexpected but oh-so-welcome guests popped by for a late lunch and it was a hit! I just threw together a big kale salad to serve on the side and, voila! A culinary masterpiece in no time!


Apple Dijon Pork Tenderloin

 Serves 4 to 6

2 pork tenderloins
1 tablespoon vegetable oil
Kosher salt
Freshly ground black pepper
1 tablespoon unsalted butter
2 small onions, trimmed, peeled, and sliced into 12 wedges
1 tablespoon Dijon mustard
1 teaspoon grainy Dijon mustard
1 tablespoon chopped fresh thyme
2 teaspoons chopped fresh sage
¼ teaspoon ground cinnamon
2 Gala apples*, cored and sliced into 10 to 12 wedges
½ cup dry hard cider, dry white wine, or just regular apple cider
½ cup chicken stock

Preheat oven to 425ºF and set a large cast iron skillet over medium/medium-high heat.

Pat the pork tenderloin dry with paper towel and coat each with vegetable oil. Season liberally with salt and pepper and sear the pork tenderloins until evenly browned all over. Transfer the pork to a plate and add the butter to the pan. Add in the onions, season with a pinch of salt, and allow them to cook for about 5 minutes, stirring occasionally. 

Meanwhile, in a small bowl, mix together the Dijon, grainy Dijon, thyme, sage, and cinnamon and brush this mixture all over the pork tenderloins.

Add the apples to the onions and continue to cook for about 5 to 7 minutes just to give them a little colour. Carefully deglaze the pan with the cider or white wine and nestle in the pork.

Roast the pork for 15 to 17 minutes or until the internal temperature reaches 145ºF.

When cooked, transfer the pork to a cutting board, cover it with foil, and allow it to rest for 5 to 8 minutes. Place the onions and apples back onto medium heat and add in the chicken stock. Using a wooden spoon, scrape up any browned bits off of the bottom of the pan and allow it to bubble away until the pork has rested.

Slice the pork and serve it alongside those lovely golden brown onions and apples.

*Any other firm, crisp, and sweet apple will work well here. Gala’s are my go-to but Red Princes are also scrumptious in this recipe!

Taco Tuesdays in a Flash: Pressure Cooker Pork Carnitas

Pressure Cooker Pork Carnitas

Pressure Cooker Pork Carnitas

In my life, Taco Tuesdays started when I was in university at this bar called Ethel’s Lounge.

They would serve four tacos for $2 and it. was. pandemonium. Seriously, getting in there on a Tuesday was about as likely as me actually reading every single thing on my class syllabi.

The tacos were akin to those made from a taco kit you get in a grocery store so, flavour-wise, they weren’t anything special but COME ON! FOUR tacos for only $2?! As a broke university student, it was the only place I could confidently ask for another round without checking my wallet first.

While those basic shredded lettuce/grated cheese/chopped tomato/ground beef (or veggie ground round for me) numbers on a crunchy shell still hold a special place in my heart, these pork carnitas are the new go-to filling in my house.

They are perfect for a games night, so good on nachos, and just what your Taco Tuesday needs!


Pressure Cooker Pork Carnitas

Serves 6  

2.25kg pork shoulder, trimmed and cut into roughly 2-inch cubes
2–3 teaspoons kosher salt
1 tablespoon ground cumin
1 ½ teaspoon coriander
1 teaspoon smoked paprika
1 teaspoon chili powder
1 teaspoon garlic powder
2 teaspoons dry oregano
1 tablespoon brown sugar
1–2 chipotle peppers in adobo sauce
4 cloves garlic, peeled and smashed
1 red onion, peeled and quartered
2 oranges, halved
1 lime, halved
1 cup water
Corn tortillas and taco toppings such as avocado, feta cheese, red onion, sour cream, and cilantro, for serving

Set out the pork shoulder and trim off the large fat-cap that sits along the top. Cut the shoulder into roughly 2-inch cubes (feel free to trim around the bone to about 1-inch of meat on each side; I find the bone adds flavour to the end product) and set aside in a large bowl.

In a small bowl, mix together the kosher salt, cumin, coriander, smoked paprika, chili powder, garlic powder, dry oregano, and brown sugar until well combined. Sprinkle this mixture over the pork, making sure that the meat is evenly coated with the spices. Place the seasoned pork into the bottom of your electric pressure cooker followed by the chipotle pepper(s), garlic cloves, and red onion. Squeeze the juice from the oranges and lime onto the pork followed by the water, then place the juiced halves pulp-side up into the pressure cooker.

Set the electric pressure cooker to “pressure cook” at the highest pressure setting and set the timer for 40 minutes then close and lock the pressure cooker. The pressure cooker should start preheating and pressurizing once you lock it – this should take around 10 to 20 minutes depending on how cold your ingredients were going into the pot.

When the cooking time is up, allow the pressure cooker to naturally release for 15 minutes. To naturally depressurize, just don’t touch the pot. It will slowly release some of that built up pressure and finish off any cooking that needs to be done. After 15 minutes, do a quick release of the pressure by turning the vent or pressing the “quick release” button. Wait until all pressure is released before removing the lid (this takes about 1 to 2 minutes on my pressure cooker).

Discard the citrus and remove the pork pieces and cooked down onions to a dish to cool slightly then shred with two forks, ladle over some of the cooking liquid, and serve with corn tortillas and all of your favourite taco toppings!


*If you’d like the carnitas to be a little crispy, place the shredded pork onto a rimmed baking sheet and place under a high broiler for 3 to 5 minutes or until browned and slightly crisp. Serve with a little more of the cooking liquid as above.