Nanaimo Bars: The sweetest slice of Canadiana

GUSTO - Nanaimo Bars.JPG

Nanaimo bars have to be Canada's sweetest contribution to the world of food... like, literally.

So, if you're ever craving sugar, and I mean really craving sugar, this recipe is here for you!


Nanaimo bars

Makes 16 bars

For the bottom layer:
½ cup unsalted butter, room temperature
¼ cup sugar
5 tablespoons cocoa powder
½ teaspoon kosher salt
1 egg
1 ¾ cup graham cracker crumbs
½ cup finely chopped walnuts
1 cup desiccated coconut

For the filling:
½ cup unsalted butter, room temperature
2 tablespoons vanilla custard powder
2 cups icing sugar
3 tablespoons milk
½ teaspoon vanilla extract
1/8 teaspoon kosher salt

For the topping:
¾ cup semisweet chocolate chips
¼ cup unsalted butter
1/8 teaspoon kosher salt

Prepare a 9x9-inch pan by lining it with parchment paper.

For the bottom layer, set a large heatproof bowl over 1-inch of simmering water and add in the butter, sugar, cocoa, and salt.  Melt the mixture together until fully combined.  Beat in the egg and continue to cook, stirring constantly, until slightly thickened, about 30­­–45 seconds.  Remove the bowl from the heat and add in the graham cracker crumbs, walnuts, and coconut.  Press this into the bottom of your prepared pan and pop it in the fridge to chill.

For the filling, in a medium bowl, beat together the butter and custard powder.  Slowly add in the icing sugar followed by the milk, vanilla, and salt.  Continue to beat until well combined and light and fluffy.  Spread the filling in an even layer over the base and pop it back in the fridge to allow it to continue to chill.

For the topping, either in a double boiler or in the microwave, melt together the chocolate chips, butter, and salt.  Stir well to combine and allow it to cool just slightly.  Pour the topping over the custard layer and spread into an even layer.  Pop the whole pan back into the fridge to cool completely.  To cut, use a very sharp warm knife and prepare for a sugar crash in approximately 2 hours!

Churros: The french fries of the doughnut world

Churros

Churros

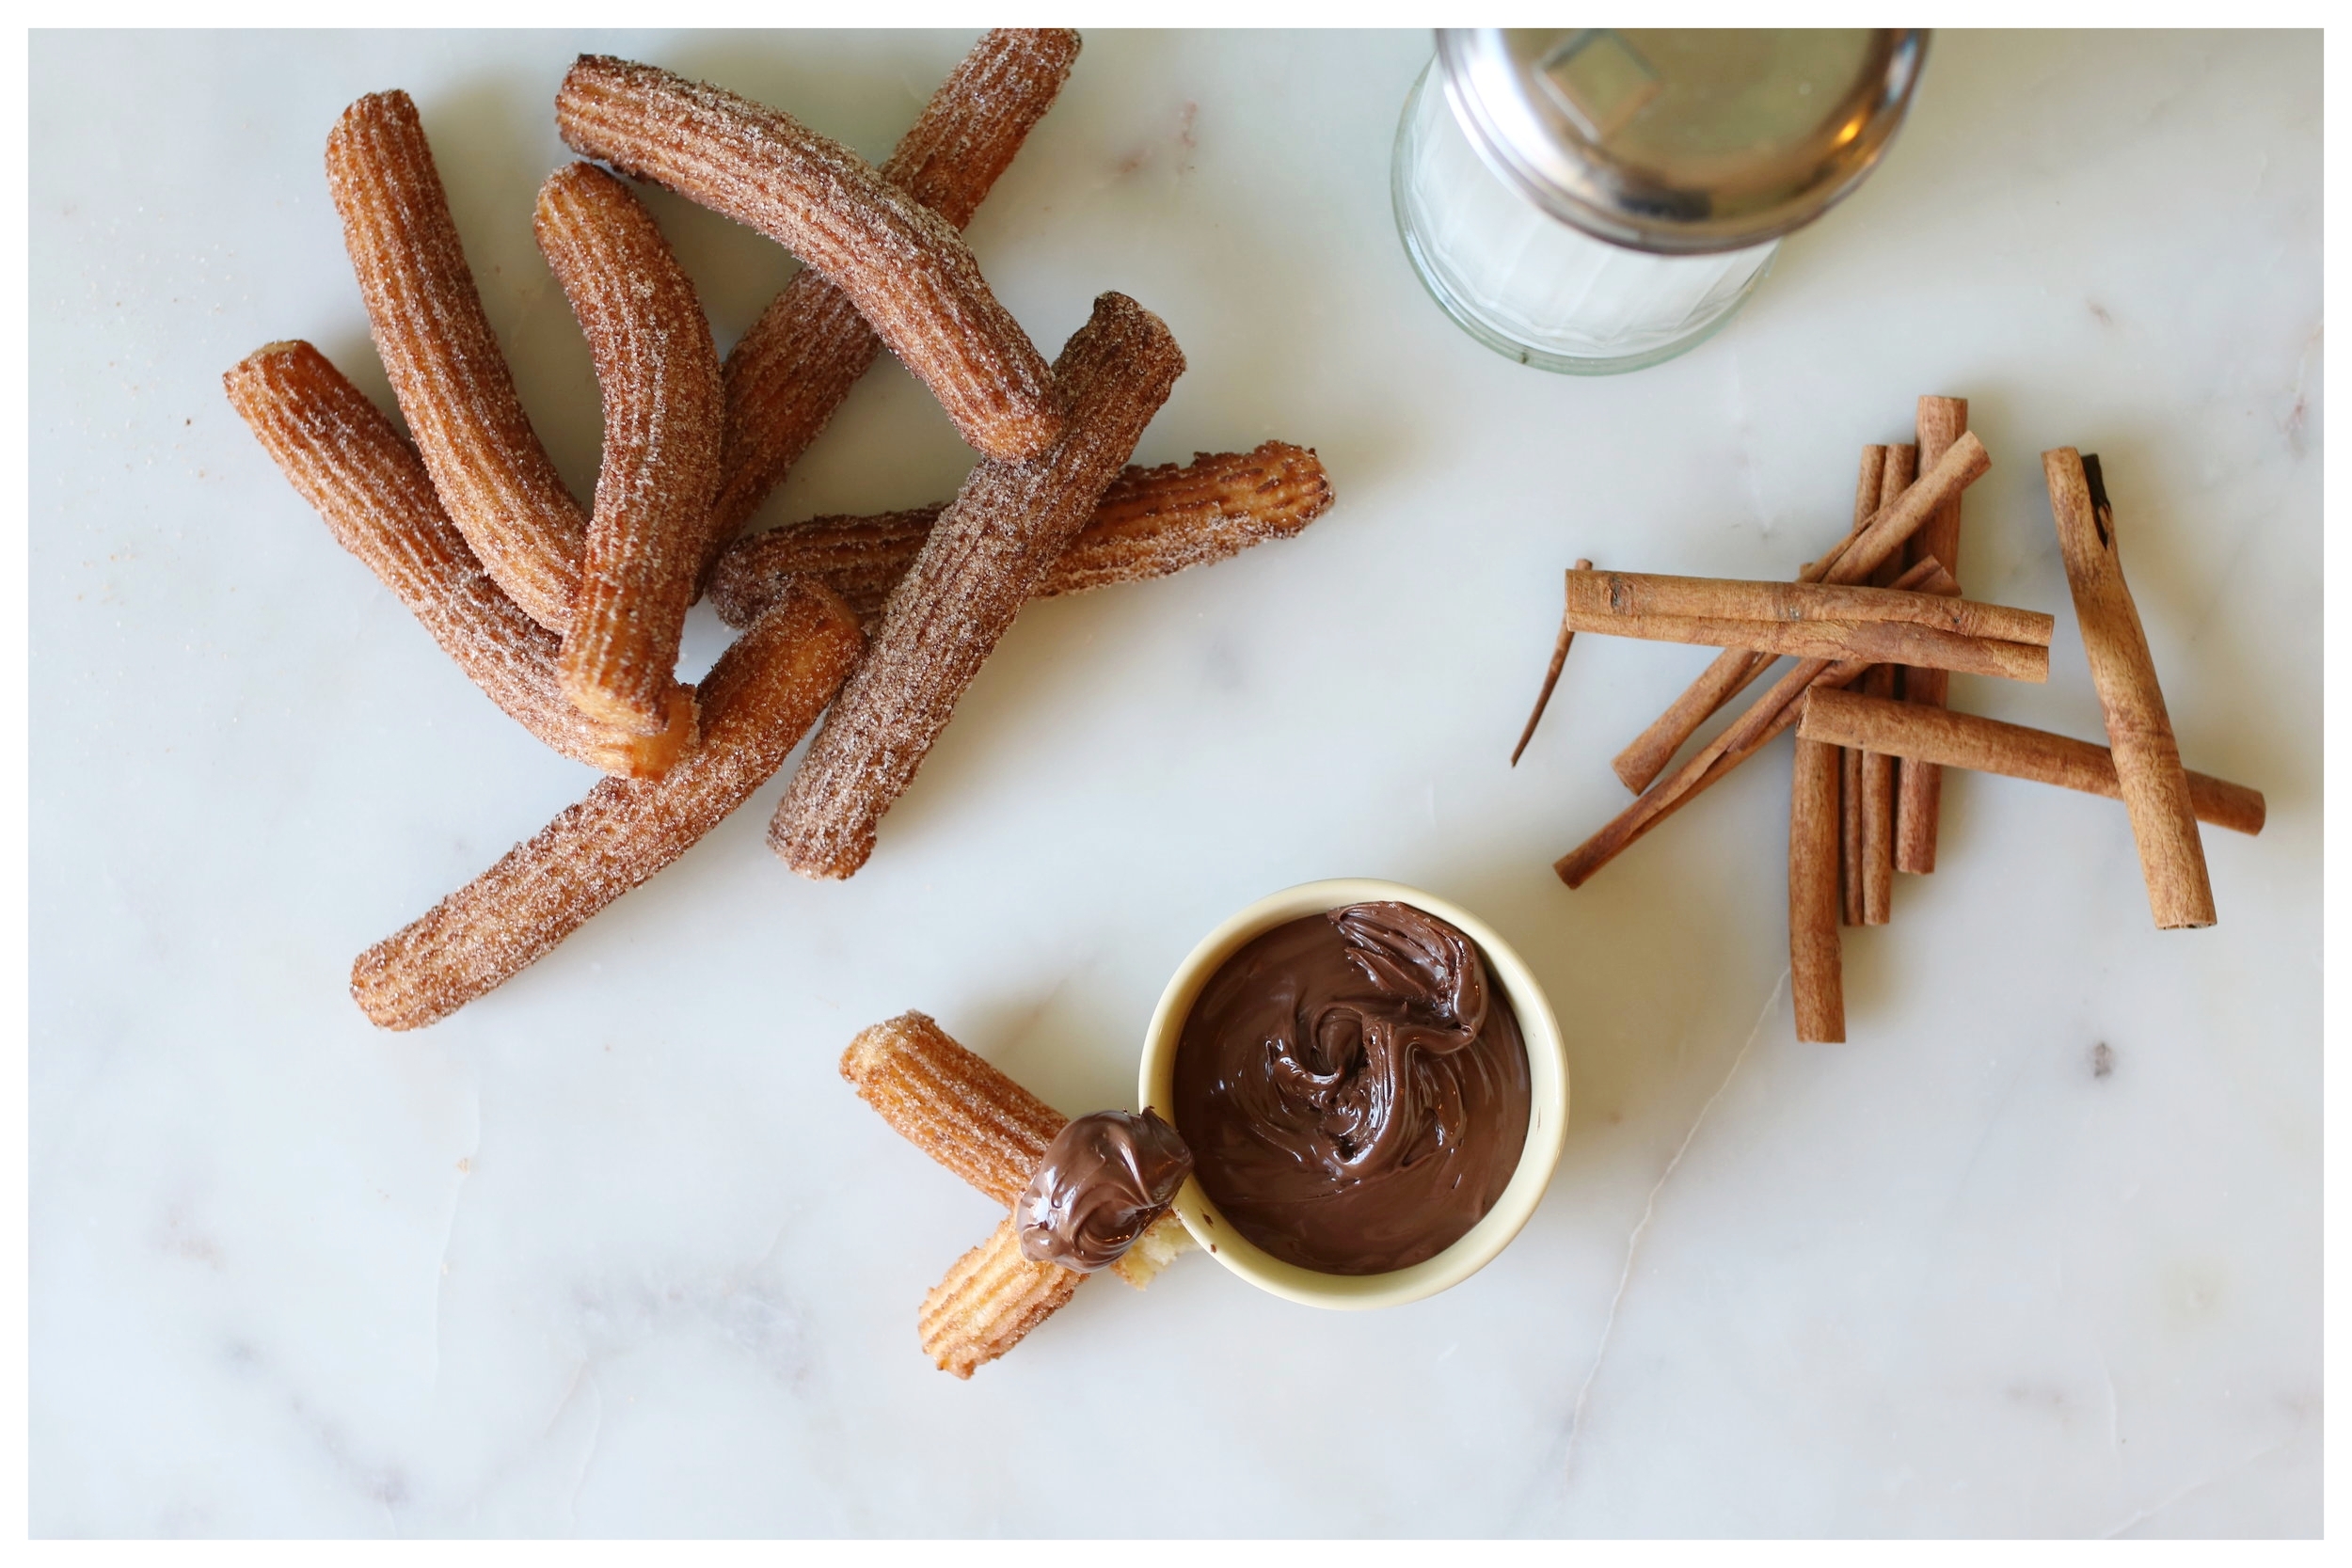
Churros are, in my humble opinion, the world's most overindulge-able doughnuts.  

I mean, when was the last time you ate just one churro?!

They should always come in servings of at least 3!  Think about it.  Wouldn't you be so jazzed if churros were served in those little fast food french fry cup things with a side of chocolate sauce, caramel, or chocolate hazelnut spread!?  It'd be like dessert fries!  

Dream.

Come.

True.


Churros

Serves 8

1 cup water
½ teaspoon salt
2 tablespoons sugar
1 ½ tablespoon unsalted butter
1 ½ teaspoon vanilla
1 cup all purpose flour
Vegetable oil, for frying
½ cup sugar
2 teaspoons cinnamon
Store bought chocolate sauce, caramel sauce, or chocolate hazelnut spread

In a small saucepan over medium heat, combine the water, salt, sugar, and butter.  Bring this mixture to a boil, add the vanilla, and dump in the flour all at once.  Stir the mixture with a wooden spoon until it forms a ball.  Remove from the heat and continue to stir for about 30 seconds.

Allow the mixture to cool and heat 3 – 4” of vegetable oil in a large, heavy bottomed pot to 375F.  Mix the sugar and cinnamon in a bowl and set aside.

Spoon the slightly cooled churro mixture into a piping bag fitted with a star tip and pipe a few churros at a time into the hot oil by piping and snipping with scissors.  Fry the churros until golden and drain on a paper towel lined plate.

While still hot, place the churros in the cinnamon sugar and toss to coat.  Allow them to cool slightly and serve warm with store bought chocolate sauce.

Puppies and Kitties and Cupcakes! Oh my!

Classic Chocolate Cupcakes

Classic Chocolate Cupcakes

If you had of asked me a month ago if there was a way to make cupcakes even sweeter and more perfectly wonderful than they already are, I would have scoffed, shaken my head, and said attempted to utter the word “naaaahhh” through a giant mouthful of fluffy cake and rich, silky buttercream.

But boy, oh boy, was I ever wrong!  This year, I am so honoured to have been asked by the Ontario SPCA to be their champion for National Cupcake Day™!  Now in its sixth year, the nation-wide annual campaign runs throughout January and February, culminating on Monday, February 26 – the sweetest day of the year! 

In 2017, animal lovers across Canada raised over $600,000 in support of their local animal welfare societies and, this year, I’m hoping to help them surpass that number and add to the outstanding $2.45 million raised to date!

To get involved and “bake a difference,” visit www.nationalcupcakeday.ca to register to host a Cupcake Day Party on a date that’s convenient for you.  Plan your National Cupcake Day™ Party for home, work, school or anywhere you think people would enjoy eating cupcakes (so, literally anywhere!).

Invite your guests to donate through www.nationalcupcakeday.ca to help raise critically-needed funds for animals that are abused, abandoned, neglected or no longer wanted.  Proceeds from National Cupcake Day™ help the Ontario SPCA support our furry friends, big and small, who have been abused, abandoned, or are in need of help.

If you're in need of a little cupcake-y inspiration, give these little babies a try!  They are super chocolatey, rich, crazy simple, and oh-so perfect for any and all cupcake and kitty/puppy lovers!


Classic Chocolate Cupcakes

Makes 24 large cupcakes (or 36 regular)

3 cups all-purpose flour
1 ½ cups good quality cocoa powder
1 tablespoon baking powder
1 teaspoon baking soda
¾ teaspoon kosher salt
2 cups sugar
1 ½ cups vegetable oil
4 eggs
2 teaspoons vanilla extract
1 teaspoon espresso powder
2 cups buttermilk

Preheat your oven to 350F and line two or three 12-cup muffin tins with cupcake liners.

In a bowl, sift together the flour, cocoa, baking powder, baking soda, and salt.  Give it a bit of a stir to combine and set aside.

Using a hand or stand mixer, beat the sugar and oil together for 1 minute.  Add the eggs in one at time, beating well after each addition and continuing to beat for 2 minutes or until the mixture looks a little lighter in colour.

Meanwhile, in a small bowl, mix together the vanilla extract and espresso powder.  Add that to the buttermilk and set aside.

When the oil and sugar mixture is nicely creamed, add approximately a third of the dry ingredients and beat together until almost combined.  Add in half of the buttermilk mixture and, again, beat just until almost combined.  Continue with this wet/dry method, ending with the last third of the dry ingredients.  Be careful not to over mix after the last addition!  Over mixing will lead to peaked and potentially cracked cupcakes!

Scoop about ¼ cup of batter into each little cupcake liner and bake until a toothpick inserted into the centre of the cupcakes comes out clean, about 20–25 minutes.  While cooling, whip up a batch of chocolate buttercream and get ready to decorate to your heart's content!


Chocolate Buttercream

1 ½ cups unsalted butter, room temperature
1 cup good quality cocoa powder
5 cups icing sugar
½–¾ cup whipping cream
2 teaspoons vanilla extract
½ teaspoon espresso powder
½­­–1 teaspoon kosher salt

Beat together the butter and cocoa powder and gradually add in the icing sugar.  The mixture will be a little crumbly but that’s where the whipping cream comes in!  With the mixer running, slowly stream in the whipping cream, starting with ½ cup then increasing to ¾ cup if necessary.

In a small bowl, combine the vanilla extract with the espresso powder and add it to the buttercream mixture.  Beat in the salt and use immediately.

It's January soo... Doughnuts

Vanilla Glaze Cake Doughnuts

Vanilla Glaze Cake Doughnuts

January can pretty much be summed up in one word: blah.  

It's the month when Mopey Mary rears her ugly head to make every day feel drawn out, dull, and dreary.  The holidays are over, the glow of the new year has started to fade, and all I really have to look forward to are the short, chilly days of winter.  Every year I tell myself to plan a holiday for mid-January but, instead, I spend my days drudging through work and my evenings lazing about on the couch watching mainly murder shows because, well, murder shows are pretty great and why the heck not?
(ps how am I only watching Fargo now?!)

In my mind, there is only one thing that can help spurn that grumpy gal to the sidelines and that is doughnuts.  Sure, any sweet would do and I sure have had my fair share of chocolate chip cookies, cupcakes, and brownies these past two and a half weeks but doughnuts!  Oh baby, doughnuts are the answer to my forlorn prayers!

Draped with a Simpsons-esque pink glaze and scattered with a few little sprinkles, nothing brings a smile to my face and a spring to my step quite like a classic vanilla dip!  As I tend to be a bit lazy this time of year, these little puppies are a classic cake doughnut rather than a yeast risen because when I want doughnuts, I don't want to have to wait on yeast!

So, what are you waiting for?  Banish those January blues and get to frying!


Vanilla Cake Doughnuts

Makes 12 doughnuts and 12 doughnut holes

2 ¾ cups all-purpose flour
½ cup sugar
1 tablespoon baking powder
½ teaspoon salt
1 cup buttermilk
1 egg
¼ cup unsalted butter, melted
2 teaspoons vanilla extract

In a large bowl, sift together the flour, sugar, baking powder, and salt and make a well in the centre of the dry ingredients.  In a separate bowl, whisk together the buttermilk, egg, melted butter, and vanilla.  Pour this wet mixture into the well and mix just until a soft dough forms.  Cover your bowl with plastic wrap and refrigerate the dough for 1 hour.

Remove the dough from the fridge and heat about 2 inches of vegetable oil in a large, deep pot over medium heat until a thermometer registers at 350F.  On a generously floured work surface, roll out your chilled dough to a ½ inch thickness and, using a 3-inch round cutter, cut out as many rounds as possible.  Using a 1-inch round cutter, remove the very centre of each circle, giving you doughnuts and doughnut holes! 

Feel free to bring the remaining dough together to reroll and cut out more doughnuts but only do this once as rerolling the dough a third time might make the doughnuts a bit tough.

Before frying, prepare a draining station for your doughnuts by lining a cookie sheet with paper towel and a cooling rack.

Now, it’s time to fry!  Gently lower four or five doughnuts into the hot oil and cook, flipping once, until all the doughnuts are golden brown and lovely.  Remove the cooked doughnuts to the rack-lined cookie sheet and continue to fry until all of your doughnuts and doughnut holes are done.

When cooled, dunk each doughnut and doughnut hole in classic vanilla or chocolate glaze and leave to set for at least 30 minutes.


Classic Vanilla Dip Glaze

1 ¾ cups icing sugar
2–3 tablespoons milk
1 teaspoon vanilla extract
8–12 drops red food colouring
Sprinkles, for decorating

In a small bowl, whisk together the icing sugar, milk, vanilla, and food colouring until smooth.  Dunk your doughnuts into the glaze followed immediately by a scattering of sprinkles and allow the doughnuts to set up for at least 30 minutes.