Ice Cream + Tacos = a very happy Mary
/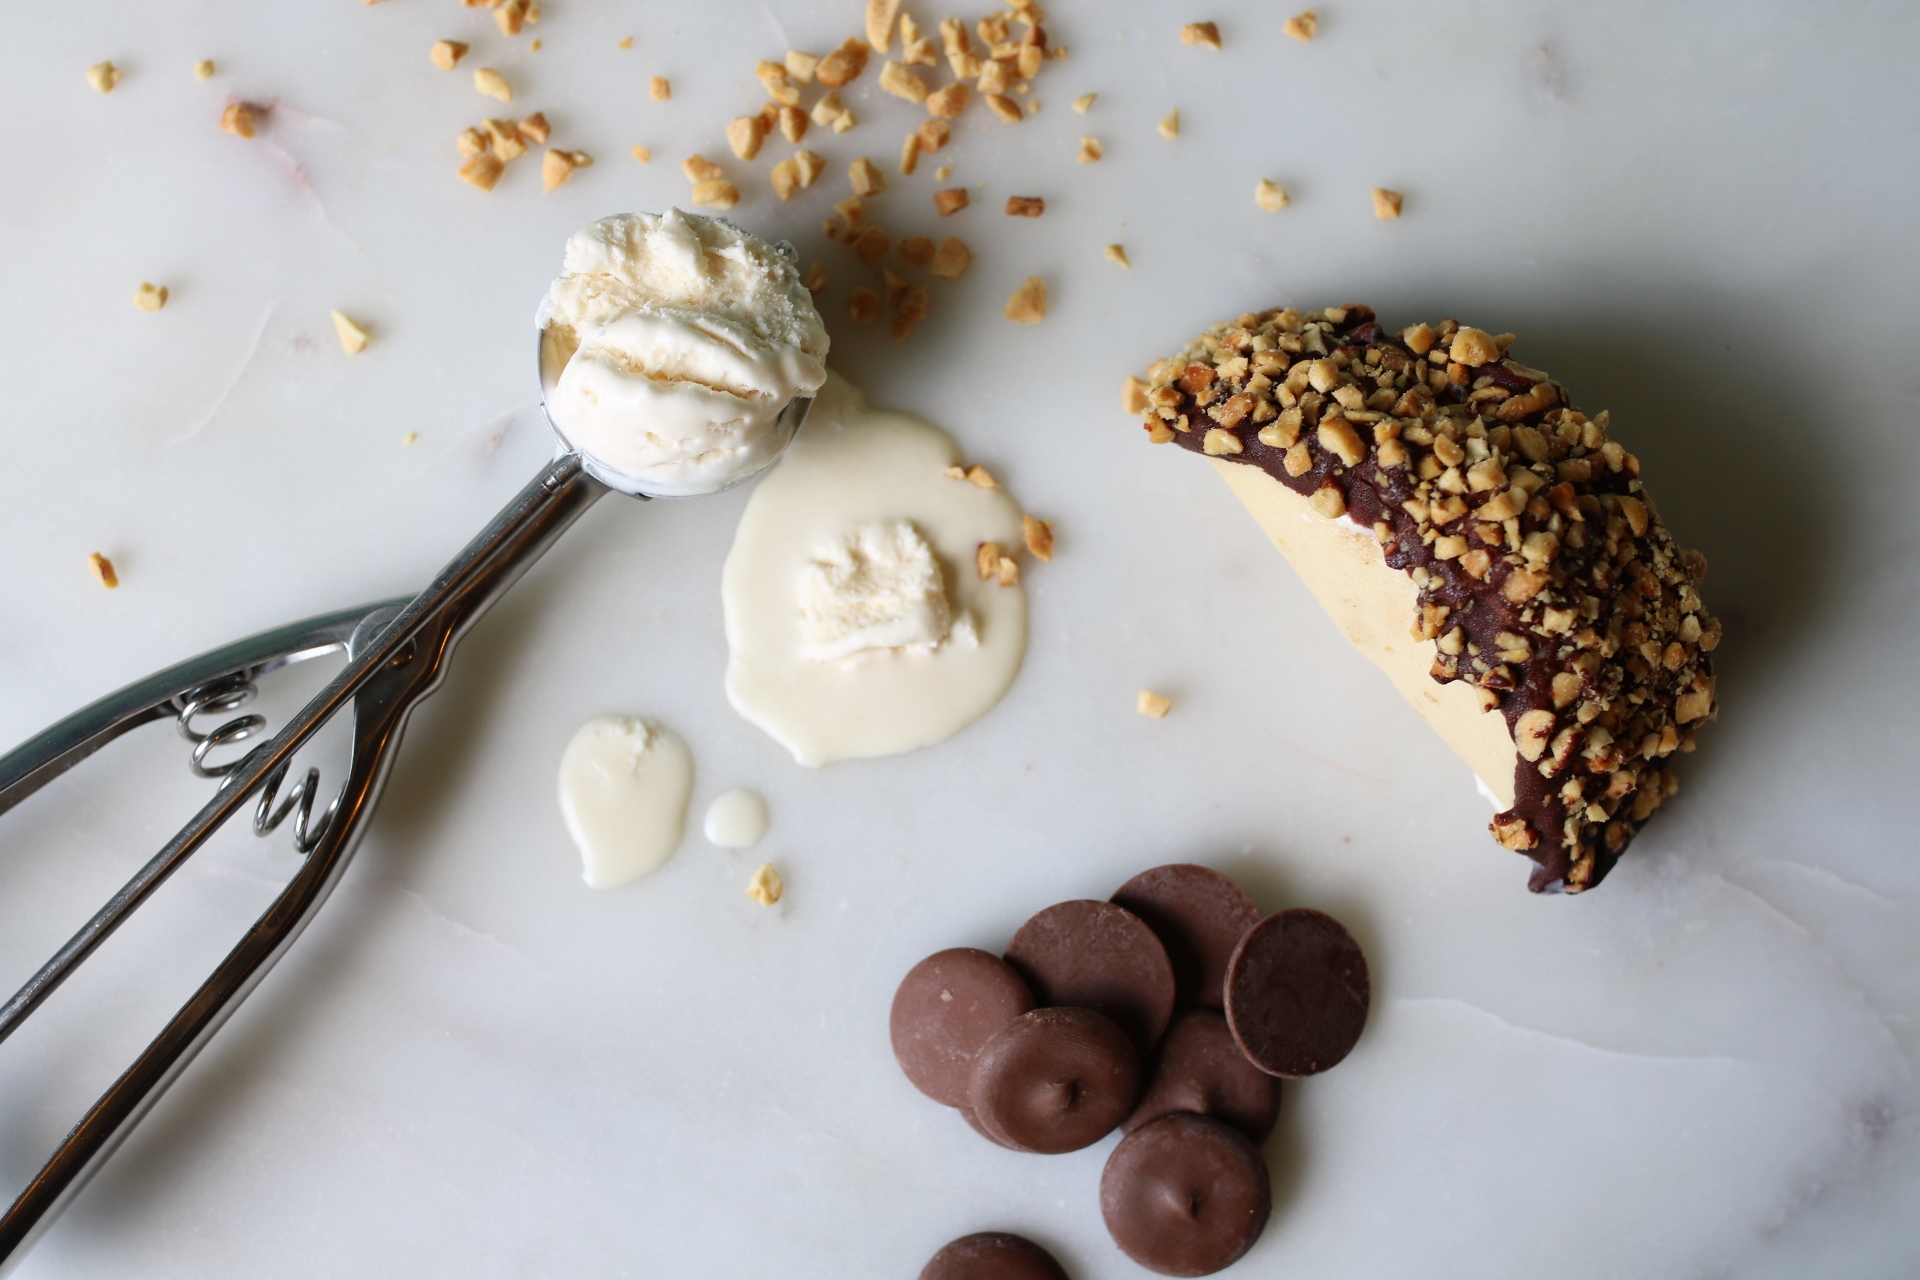
Homemade Choco Tacos
On warm summer evenings as I sit in my apartment, there is one guarantee: at some point, the slightly spooky sounds of two ice cream trucks battling for the same neighbourhood will drift in our windows. Always playing creepy versions of knockoff childhood classics, the sound of one ice cream truck will spark excitement in pretty much anyone. For me, as soon as I hear a faintly off-tune rendering of Twinkle Twinkle Little Star, I dash about trying to find some change so that I can score a swirly cone rolled in chopped peanuts. When a second truck rolls around however, with its music playing overtop, it starts to sound like a weird dystopian battleground… Rather than choose sides, I figure I might as well just make my own novelty ice cream treats…
Here is my version of an all-time fave, the Choco Taco. It’s this wonderful concoction by Klondike that I can seem to only find at US gas stations.
The ice cream here is so simple, you’ll feel like a culinary maven, the sugar cone taco shell can easily be made into a cone or edible dish, and the chocolate shell makes you feel like a real pro.
Ice Cream Tacos
Makes 6
Ice Cream Cone Taco Shells, recipe follows
No-Churn Vanilla Ice Cream
Magic Chocolate Shell
½ cup roasted chopped peanuts
To assemble an ice cream taco, fill a shell with a good helping of no-churn vanilla ice cream. Make sure to fill it to the brim and smooth the top out using a spoon. Dip the open sides of the taco into the chocolate shell making sure to cover all of the ice cream and roll in the chopped peanuts. Place the finished ice cream tacos into a loaf pan standing them upright, cover with plastic wrap, and pop back into the freezer to firm up.
These can be made ahead and stored in the freezer for up to two weeks.
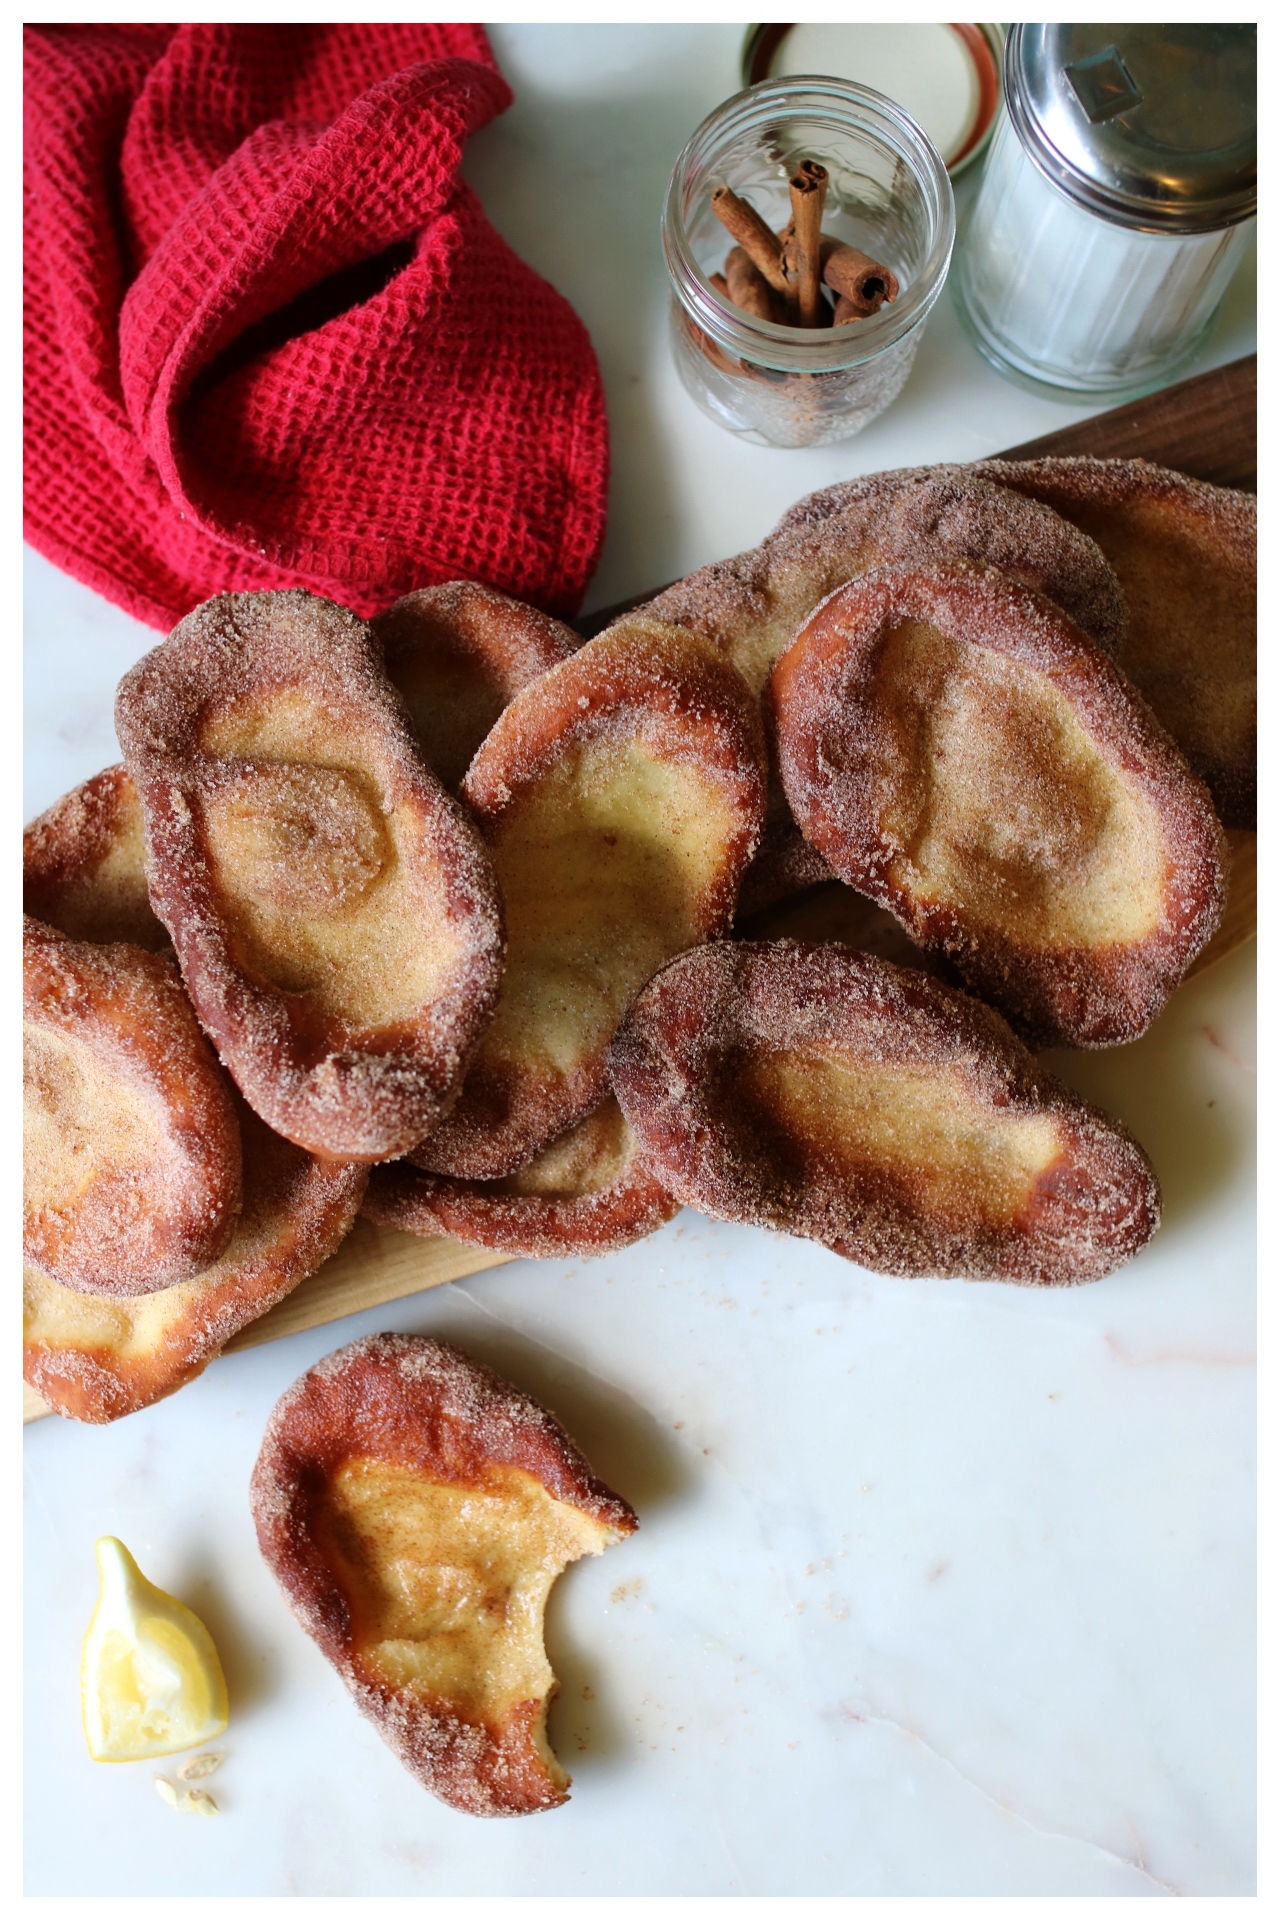
Ice Cream Cone Taco Shells
Makes 6
1 egg white
3 tablespoons white sugar
3 tablespoons unsalted butter, melted
½ teaspoon vanilla
1/3 cup all-purpose flour
Pinch fine sea salt
Preheat your oven to 400F, line a baking sheet with parchment paper, and set out a standard muffin tin.
In a small bowl, beat together the egg white and sugar, followed by the butter and vanilla. Finally, stir in the flour and salt just until combined.
Drop the batter by two tablespoonfuls onto the parchment lined baking sheet, being sure to leave lots of space between each so there is room to spread the batter out. Using a butter knife or offset spatula, spread each little mound of batter into a thin circle about 4-5” across.
Bake for 4 - 8 minutes or until the edges just start to turn brown. Remove the tray from the oven and set next to an upside down muffin tin. While still hot, remove the rounds from the parchment one at a time and curve into a taco shell shape. Place in between two of the upside down muffin cups and repeat until all of the shells have been formed. Pop back into the oven for 3- 5 minutes to firm up the shells and allow them to cool on the upside down muffin tin until room temperature.
Fill with ice cream and top with chocolate shell!
*Note: these can easily be made into traditional cones by rolling into a cone shape or even made into little edible ice cream bowls by using the muffin tin right-side-up and pressing the par-baked rounds into the cups.