Roasted Beet Borscht is basically spring in a bowl

Roasted Beet Borscht

Roasted Beet Borscht

After a long and indecisive winter where snow was rarely seen yet big puffy coats were a must, it’s finally officially spring!  On days like today, I spend the hours trying to soak up as much of this lovely sunshine as I can while holding back hopes that Old Man Winter has hung up his hat for good this year. 

A girl can dream but we here in Southern Ontario know that late March snowstorms are pretty much a given so I’m not holding my breath.

When the sun is shining and spring is trying to break through, I start craving brighter flavours but that threat of winter’s last hurrah keeps me wanting more hearty fare.  It is on days like these that I crave a big old bowl of roasted beet borscht.  The roasty flavour of this cheerful magenta hued soup swirled with fresh green gremolata and dreamy crema is just what the doctor ordered.  It’s hearty enough to keep you satisfied on cold wintery nights but bright enough in both looks and flavour to usher in mild spring days.


Roasted Beet Borscht

Serves 4

5 medium/medium large beets, peeled
3 medium carrots, peeled
1 medium red onion, peeled
4 cloves garlic, skin on
6 sprigs fresh thyme
2 tablespoons extra virgin olive oil
½ teaspoon salt
¼ teaspoon pepper
4 cups low or no sodium chicken or vegetable broth
1 tablespoon vodka, optional
1 – 2 tablespoons syrupy balsamic or red wine vinegar
2 teaspoons prepared horseradish
1 teaspoon Dijon mustard
2 teaspoons lemon juice, or more to taste
Salt and pepper, to taste
Lemon Horseradish Crema, to garnish, recipe follows
Gremolata-y Olive Oil, to garnish, recipe follows

Preheat your oven to 400F and line a sheet pan with aluminum foil to make cleanup easier.

Meanwhile, prepare your beets and carrots by dicing into roughly 2” chunks and cut your onion into six wedges.  Toss all of your vegetables including the garlic and thyme onto your prepared sheet pan and drizzle with olive oil.  Mix well so that all of the veggies are evenly coated with oil and spread into an even layer.  Season with ½ teaspoon salt and ¼ teaspoon pepper and pop this into your preheated oven for 30 minutes, stirring once midway through.

When your veggies are done roasting, pop all of the garlic cloves out of their skins, discard all of the papery bits, and transfer the whole pan of veggies into a medium/large pot along with the chicken or vegetable stock.  Set this over medium heat to simmer for about 50 minutes or until the vegetables are very tender.

Carefully remove the sprigs of thyme and transfer the mixture into a blender to puree until very smooth.  You might need to do this in a couple of batches and do be careful of the steam.  Also, it’s important to open the lid valve of the blender and cover with a clean dish towel when you blend.  If you don’t, you will have quite the mess on your hands!

Once your soup is nice and smooth, transfer it all back into your pot and place over low/medium-low heat.  Stir in the vodka (if using), vinegar, prepared horseradish, mustard, and lemon juice, to taste.  Season with salt and pepper, cover, and cook for another 10 minutes or so to allow all of the flavours to meld. 

Serve hot or cold topped with Lemon Horseradish Crema and herby Gremolata-y Olive Oil (recipes follow) and revel at that beautiful magenta hue!


Lemon Horseradish Crema

¼ cup sour cream
¼ cup plain yogurt
2 tablespoons prepared horseradish
1 teaspoon salt
¼ teaspoon pepper
1 teaspoon lemon zest
1 tablespoon lemon juice

Mix all of the ingredients in a medium bowl and keep cold until ready to use.

This crema is as delicious on roasted beet borscht as it is alongside roast beef and potatoes.


Gremolata-y Olive Oil

2 tablespoons finely chopped fresh parsley
2 tablespoons finely chopped fresh dill
2 cloves garlic, very finely minced
1 tablespoon lemon zest
1 teaspoon lemon juice
2 tablespoons extra virgin olive oil
Salt and pepper to taste

Mix all of the ingredients in a small bowl and allow the flavous to meld at room temperature for at least 20 minutes.

Serve a tablespoon or so swirled into a big bowl of roasted beet borscht or as a sauce for chicken or fish.

Store leftovers in an airtight container and keep in the fridge for up to a week.

Breakfast for Dinner: Lemon Poppy Seed Pancakes

Lemon Poppy Seed Pancakes

Lemon Poppy Seed Pancakes

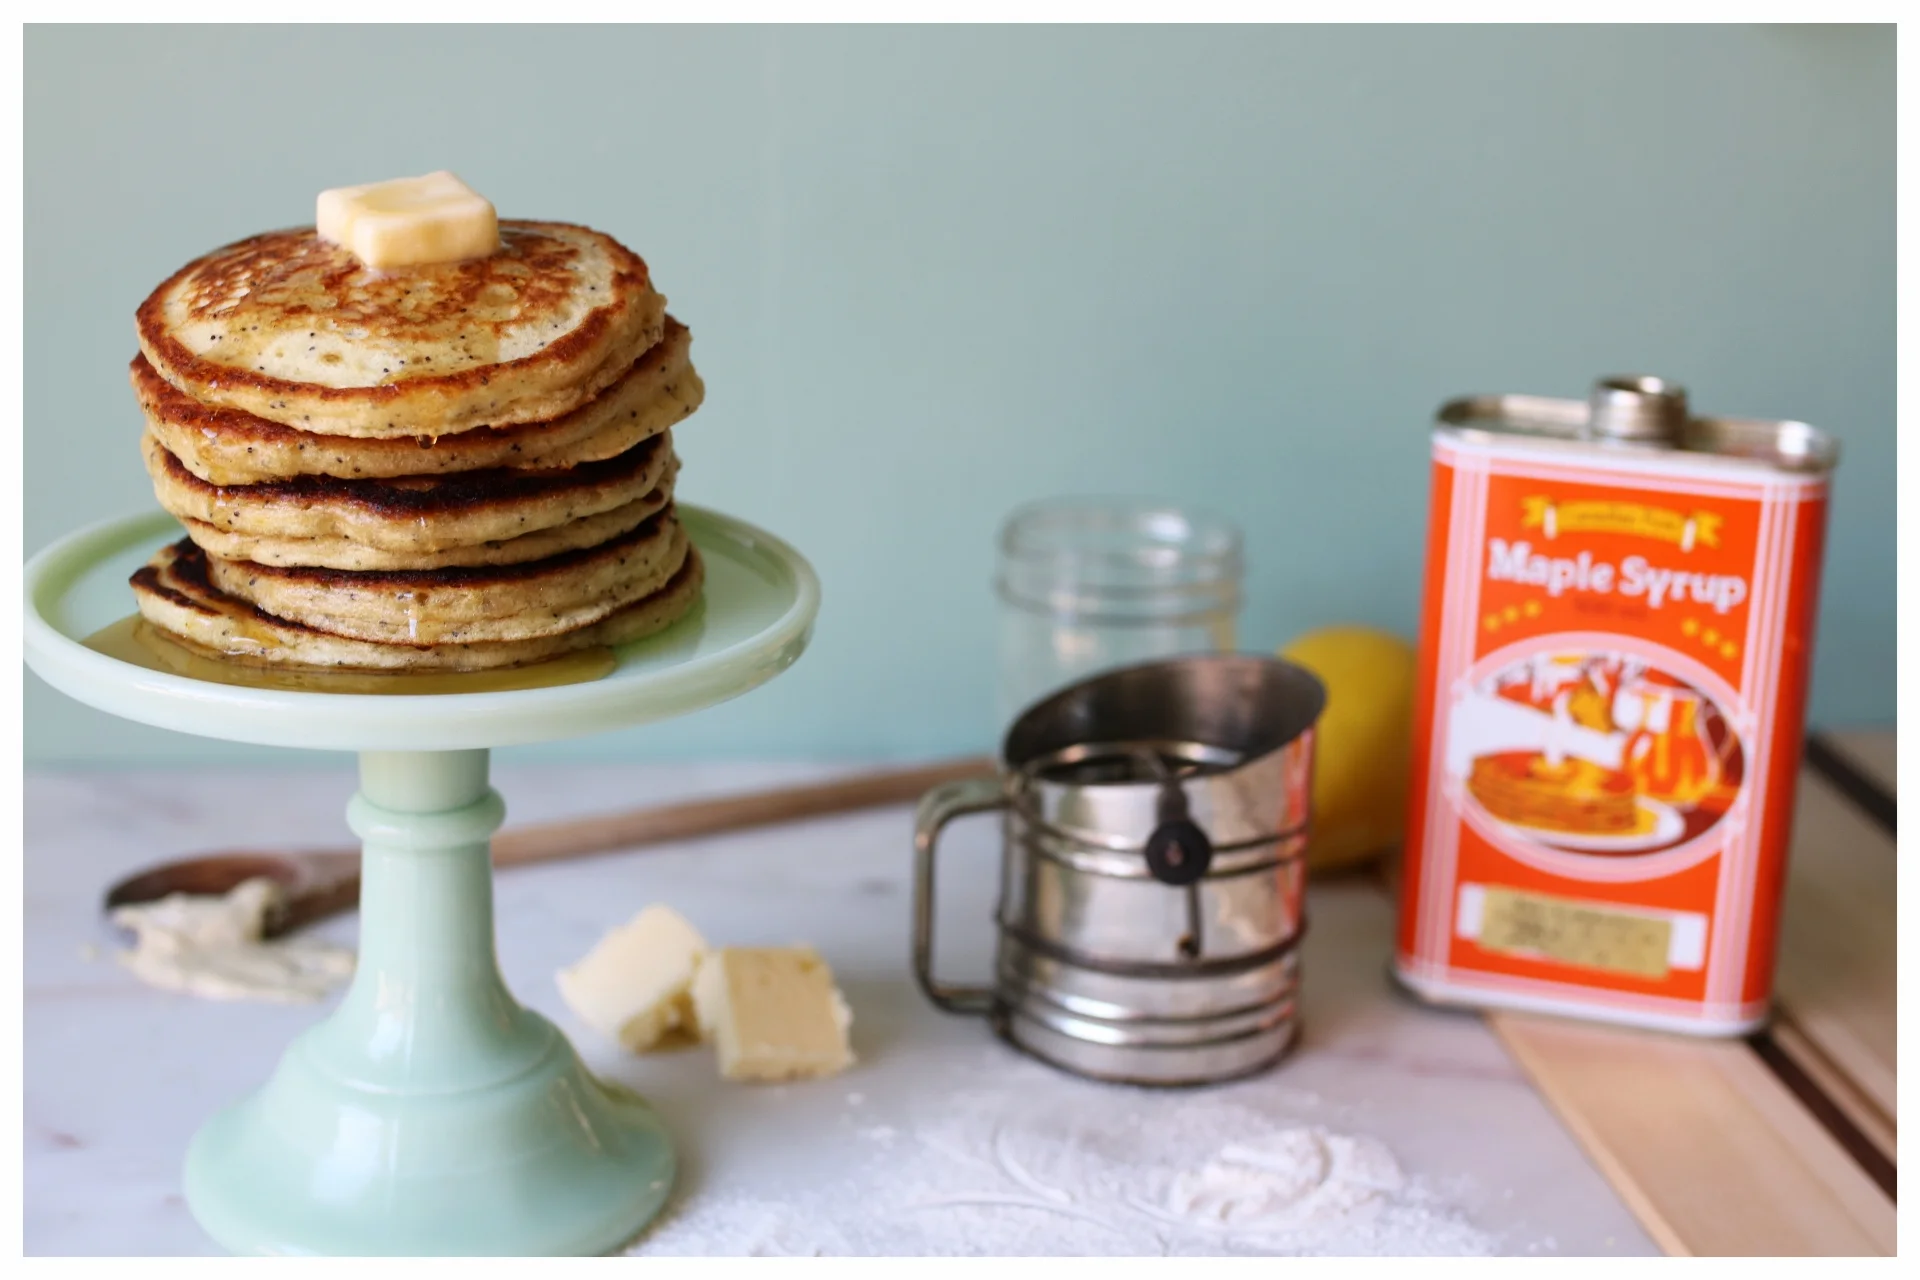
Mardi Gras.  Fat Tuesday.  Shrove Tuesday.  Whatever you call it, there is only one thing to do today: eat all of the pancakes. 

As a kid, my favourite meal was pancakes and “chachiches” (read: garbled baby-speak for breakfast sausages) so Pancake Tuesday has always been a favourite of mine.  To be honest, I think the tradition of tucking into a big old stack of fluffly little cakes for dinner on a mid-winter Tuesday is one of the only unchanged holiday rituals us Berg’s have.  Christmas has been bent to accommodate new families, Easter is spent sans Mama Berg as she usually skidaddles down South for a girl’s trip, and Thanksgiving is kind of just a free-for-all.  Somehow, thankfully, Pancake Tuesday has stood the test of time.

The idea of “Fat” days has been recently expanded by my hubs’ Polish heritage.  He introduced me to “Fat Thursday” where you are meant to indulge in these gigantic Polish doughnuts called Paczki.  Holy bananas, are they ever tasty but do be warned: some that appear to be filled with chocolate are in fact filled with pureed prune.  It’s not a wholly unpleasant flavour but it is quite a shock when you are expecting a rich chocolate ganache and are instead met with the unctuous, I guess sort of sweet, funk of a prune.

As per usual, I digress.  Back to pancakes.

Here is my recipe for my current fave ‘cakes, lemon poppy seed.  The zest of a lemon and speckley little poppy seeds makes this childhood favourite seem just a little more ‘adult’.  Stacking them high and drowning with melting butter and warm maple syrup on the other hand is a total 4-year-old Mary move. 

One can’t be expected to be grownup all the time.


Lemon Poppy Seed Pancakes

Makes 10 – 12 pancakes

2 Tbsp unsalted butter, melted
1 ¼ cup all-purpose flour
1 tsp baking powder
½ tsp baking soda
¼ tsp salt
2 Tbsp sugar
2 tsp poppy seeds
1 ½ cup buttermilk
1 egg
½ tsp vanilla
1 lemon, zested
Butter and canola oil, for cooking the ‘cakes

In a large non-stick skillet over low heat, melt 2 tablespoons of butter and preheat your oven to 200F.

Meanwhile, whisk together the flour, baking powder, baking soda, salt, sugar, and poppy seeds in a medium bowl and set aside.

In a small bowl, whisk together the buttermilk, egg, vanilla, and lemon zest.  Pour this wet mixture over the dry and stir about five times to slightly combine.  Pour in the melted butter, placing the pan back over the heat, and stir the pancake batter just until it comes together but a few lumps still remain.

Turn the heat on the pan up to medium and pop a little pat of butter and a splash of oil in there to melt together.  When the butter is bubbling, spoon about a ¼ cup of batter onto the skillet for each pancake and cook until bubbles start to appear on top.  Check the underside to see if they are golden brown and flip.  Cook about another 1 – 2 minutes on the second side and keep the pancakes warm in your oven until all of the batter is used up.

Serve warm with lots of butter, maple syrup, fruit, and maybe some lemon curd!

Notes: If you’re looking for plain old pancakes, just omit the poppy seeds and lemon zest.
If you find yourself with any leftovers, place a small square of wax or parchment paper between each pancake, wrap the stack well with plastic, and pop in the freezer.  To reheat, just use your toaster!

Honeymooning in Rome with Spaghetti Carbonara

Spaghetti Carbonara

Spaghetti Carbonara

On dreary February days such as this, I tend to find myself reminiscing about all of the delicious things I've eaten, wishing that I could just snap my fingers and have a buffet laid out with plates overflowing with every tasty morsel.  Alas, as much as I wish I were Hermione Granger or Molly Weasley, I am not.  In fact, I'm not even close as I would most definitely be placed in Hufflepuff if I were to ever get the chance to don that old Sorting Hat... 

Well, a girl can dream.  For now, I will have to settle with whipping up my own plates of deliciousness.

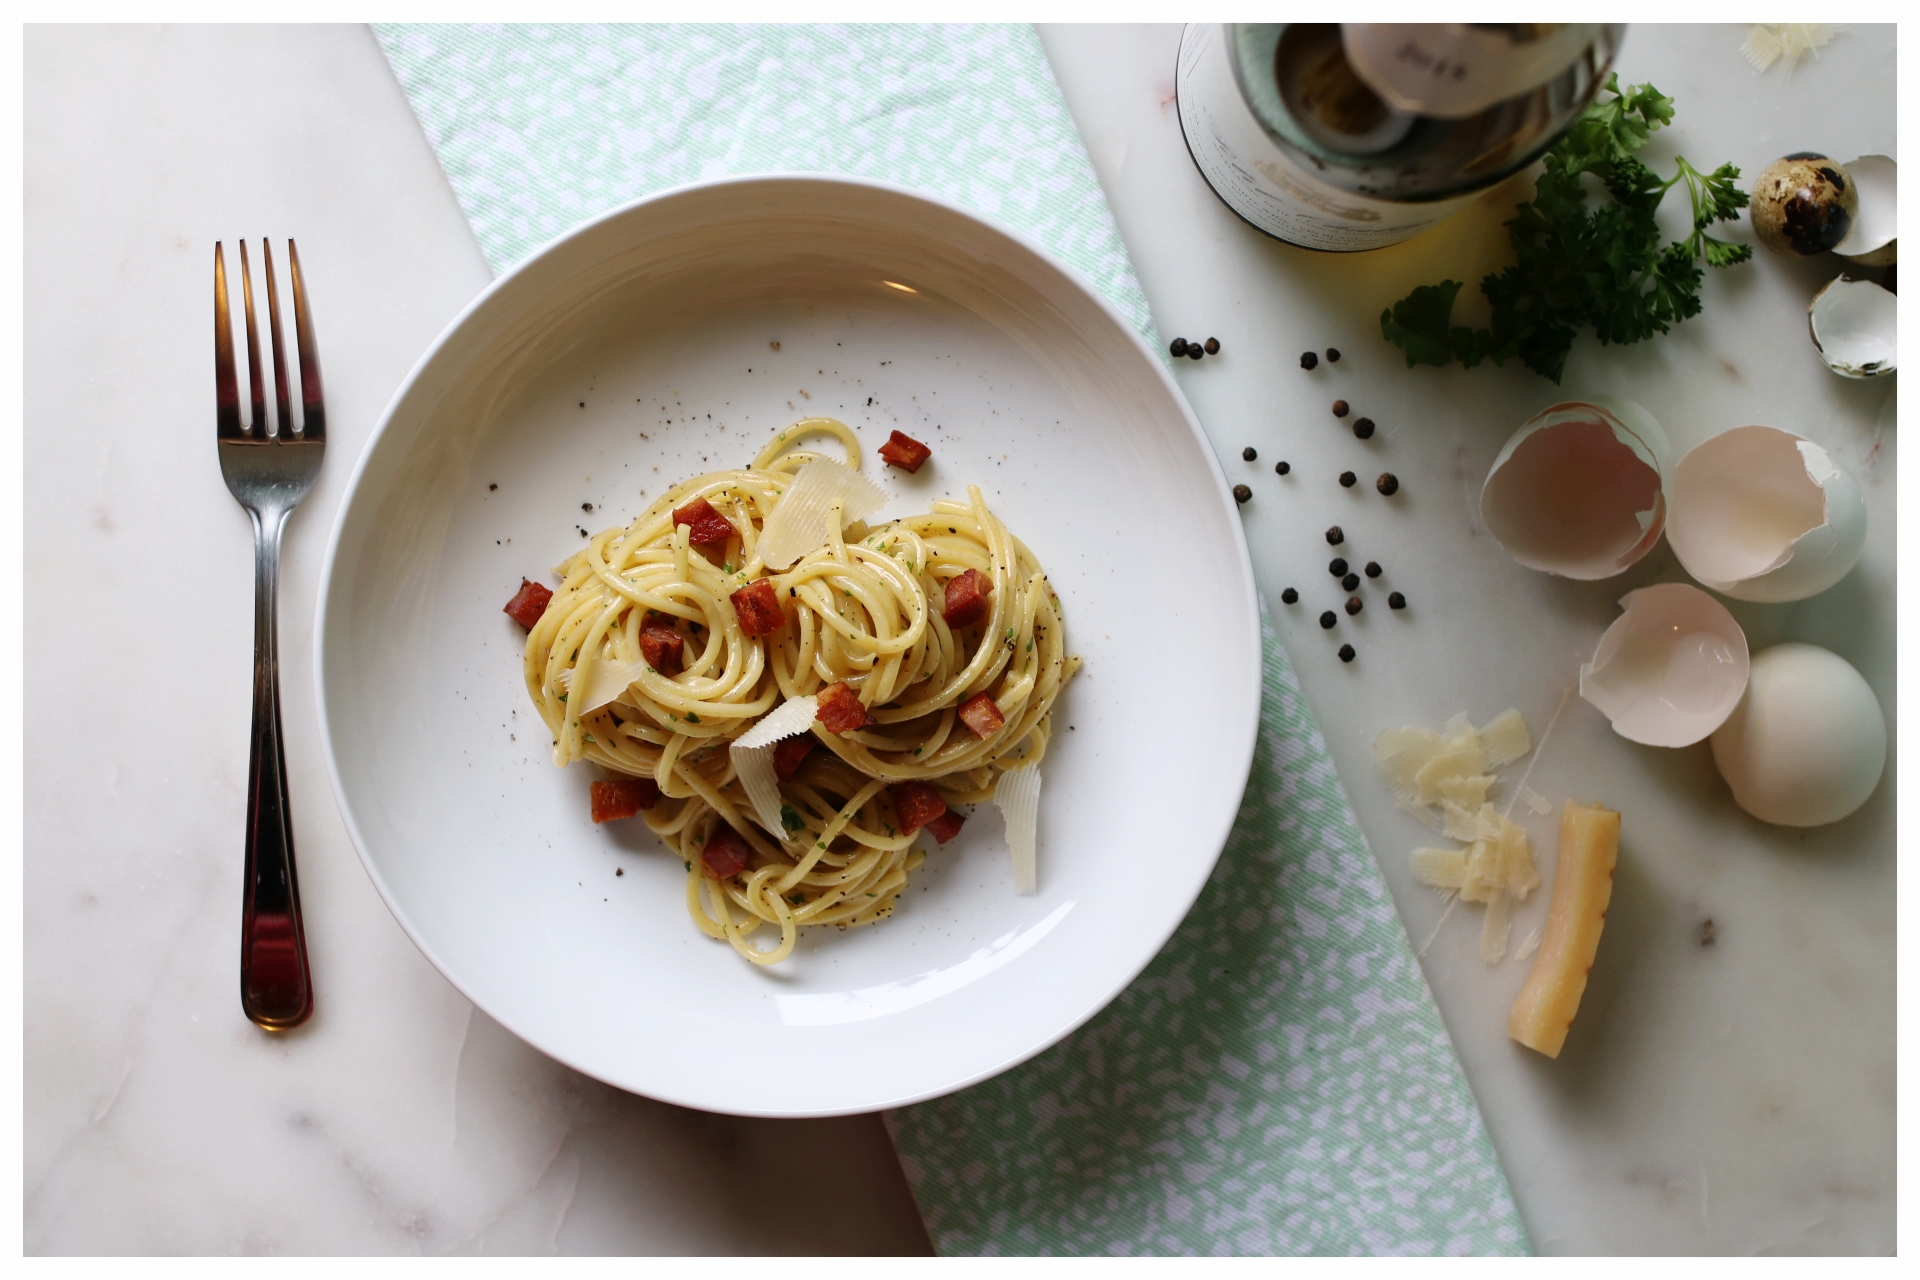
Today, my thoughts are filled with memories of my honeymoon.  The hubs and I went on a wee tour of Iceland, France, and Italy back in November and ate every single thing that struck our fancy.  Iceland's bounty offered up the most fantastic hearty breads and seafood, France had more butter, wine, and pastries than I could have ever imagined, and Italy's obvious prowess with pasta has yet to be surpassed.  On our first night in Rome, Aaron and I found ourselves toddling about in search of food and stumbled across a little restaurant a few blocks away from Piazza Navona.  We saw other diners voratiously digging in to plates piled high with peppery, yolky pasta topped with smokey guanciale and dusted with nutty pecornio.  Needless to say, Aaron was sold.  

While my recipe for spaghetti carbonara differs slightly from tradition by using easier to find pancetta in place of the guanciale, the hubs seems to be a pretty big fan.  This recipe is as simple as anything and brings us back to that night, sipping campari and meandering the moonlit streets of Rome.


Spaghetti Carbonara

Serves 4

400g dry spaghetti
5 egg yolks
1 tsp salt
½ - 1 tsp freshly ground black pepper
1 cup freshly grated pecorino cheese
1 tbsp finely chopped parsley
2 tsp extra virgin olive oil
150 - 200g pancetta, sliced about 1cm thick and diced into 1cm cubes
Reserved pasta cooking water

In a large heatproof bowl, whisk together the egg yolks, salt, pepper, pecorino, and parsley and set aside.  The mixture should be quite thick but don't worry - we'll thin it out with a little pasta water later.

Bring a large pot of salted water to a boil over high heat and cook the spaghetti until al dente.

Meanwhile, heat a large frying pan over medium heat, add the olive oil, and cook the chopped pancetta until golden and crisp.  Remove the pancetta from the pan and pour off all but 2 tablespoons of the fat.  If your think you're a little shy of 2 tablespoons, pour some extra olive oil into the hot pan.

When the pasta is done cooking, scoop out about ½ cup of the starchy pasta water and set aside while you drain the spaghetti.

Remove the frying pan from the heat, carefully add the pasta and cooked pancetta, and stir to coat with the hot oil.

While the spaghetti heats , slowly dribble about 3 - 4 tablespoons of the pasta water into the yolk mixture, whisking constantly to avoid curdling.

Pour the egg mixture into the pan with the spaghetti and mix for about 5 – 10 seconds only.  Quickly transfer everything back into the egg yolk bowl and continue to stir until each noodle is nicely coated.  This back-and-forth trick (eggs from bowl to pan to bowl) helps ensure that the sauce thickens and cooks without turning into scrambled eggs.

If your carbonara seems a bit thick, slowly add a little more of the pasta water until you reach your desired consistency. 

Serve topped with a little more pecorino, parsley, and black pepper for an quick, easy, and pretty darn tasty Rome-inspired dinner!

The Sauce Fiend Chronicles: Tomato

Quick and Classic Tomato Sauce

Quick and Classic Tomato Sauce

I am a sauce fiend.  Seriously.  The only real reason I miss being a meat eater is because I miss out on the sauciest food of all: chicken wings!  I mean, you get two sauces in one!  Spicy, sticky hot sauce AND cool, creamy blue cheese dressing?!  Come.  On.  I think I need to invest some serious time in making a tolerable veg version of these carnivorous classics.

My love goes deeper than saucy bar food though.  I am that person who always orders extra sauce on their pizza and lathers dainty noodles in arguably too much butter, béchamel, or just classic tomato sauce. 

Here is my recipe for just that: a classic tomato sauce.  Throwing this sauce together is almost as fast as opening a jar from the store.


Quick and Classic Tomato Sauce

Makes about 1 litre

2 tbsp extra virgin olive oil
1 medium yellow onion
3 cloves garlic, finely minced
2 tbsp white wine, optional
1 pint cherry tomatoes, quartered
1 hunk of parmesan rind, optional
1 – 796ml (28oz) can of crushed tomatoes
2 – 4 tbsp sugar
2 tbsp balsamic vinegar
3 tbsp finely chopped parsley
3 tbsp finely chopped basil
salt and pepper to taste

Heat the olive oil in a large pot over medium heat and add the onions with a bit of salt and pepper.  Cook, stirring often, for about 6 minutes or until the onions start to soften.  Add the finely minced garlic and cook for an additional 2 minutes or so just to cook off some of that raw garlic hit. 

Add the white wine, if using, and the quartered cherry tomatoes and continue to cook over medium heat for about 5 minutes or until the tomatoes start to break down a bit.  Add the hunk of parmesan rind (if using) as well as the canned tomatoes, sugar (enough to balance the acidity of the tomatoes), and balsamic vinegar and stir to combine.  Cover the pot and lower the heat to allow the sauce to simmer away for anywhere from 10 minutes to an hour, stirring occasionally to prevent burning.  After 10 minutes, the sauce will be flavourful and quite bright tasting.  If you’re looking for a deeper and richer sauce, closer to the hour mark is where you need to go.

Finally, stir in the parsley and basil and season with salt and pepper to taste and enjoy over pasta, on pizza, with roasted eggplant parm, or, if you’re like me, just dip a hunk of cheese into the sauce for a super weird snack.